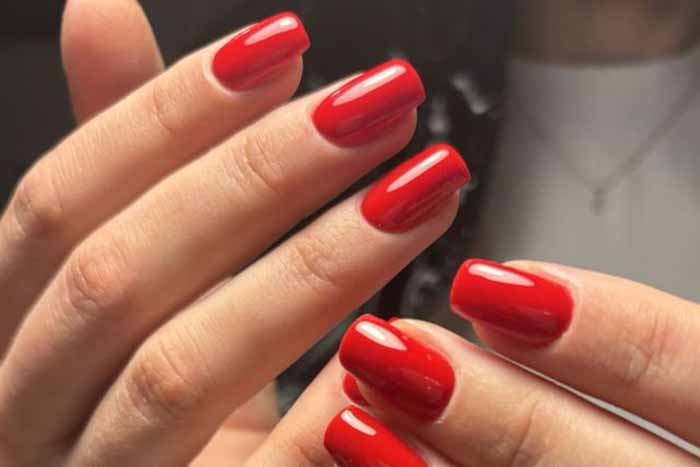

Removing nail polish is often treated as an afterthought. We rush through it, peel off the last stubborn bits, and move on. But how you remove your polish is just as important as how you apply it. The wrong technique can leave your nails weak, dry, and damaged for months. Here is everything you need to know about removing nail polish safely and effectively, from regular polish to gel and glitter.
Common Nail Polish Removal Methods
The method you choose depends on the type of polish you are wearing.
For regular nail polish. Non-acetone removers are the gentlest option. They contain ethyl acetate or isopropyl alcohol and dissolve regular polish without stripping the nail plate. However, they work more slowly and may struggle with dark or glitter polishes. Acetone-based removers work faster but are more drying. Use them sparingly, and always follow with oil.
For gel and semi-permanent polish. These polishes are polymerized and will not dissolve with regular remover. You need 100% pure acetone. The most effective method is the foil wrap soak: file the top coat to break the seal, soak cotton in acetone, place it on the nail, wrap with foil, and wait 10-15 minutes. The gel will soften and can be gently pushed off.
For glitter polish. Glitter is notoriously difficult to remove because the particles are designed to be durable. The foil wrap method works best. Alternatively, use a peel-off base coat before applying glitter; the polish will lift off in one piece when you soak your nails in warm water.
For peel-off base coats. Some brands offer peel-off bases that allow you to remove polish without any remover. Soak your nails in warm water for a few minutes, then gently peel the polish off from the edge. This method is the gentlest on natural nails but is not suitable for long-term wear.
Essential Tools for Safe Removal
Having the right tools makes the process smoother and reduces the risk of damage.
Pure acetone or non-acetone remover. Choose based on the type of polish you need to remove.
Cotton balls or pads. For applying remover. Lint-free wipes are preferable for gel removal to avoid fibres getting stuck in the softened polish.
Aluminium foil. Cut into small squares for the foil wrap method. The foil traps heat and speeds up the acetone’s action.
Nail file (180-grit). For gently buffing the shiny top coat of gel polish before soaking.
Cuticle pusher or orange wood stick. For gently pushing off softened gel or polish residue. Wooden sticks are gentler on the nail plate than metal tools.
Lint-free wipes. For cleaning nails after removal.
Cuticle oil and hand cream. For rehydrating nails and skin after removal. This step is non-negotiable.
Step-by-Step Removal Guide
For Regular Polish
Step 1: Saturate a cotton pad with your chosen remover.
Step 2: Press the pad against your nail and hold for 10-15 seconds. This allows the remover to dissolve the polish rather than just rubbing it off.
Step 3: Wipe gently in one direction from cuticle to tip. Do not scrub back and forth—this damages the nail surface.
Step 4: For stubborn polish, repeat the process. For glitter, use the foil wrap method described below.
Step 5: Wash your hands with soap and water. Apply cuticle oil and hand cream.
For Gel Polish (Foil Wrap Method)
Step 1: Using a 180-grit file, gently buff the shiny top coat off each nail. Do not file down to the natural nail—just rough up the surface so the acetone can penetrate.
Step 2: Saturate a cotton ball or pad with 100% pure acetone.
Step 3: Place the cotton directly on your nail. Wrap the fingertip tightly with a small square of aluminium foil. The foil holds the cotton in place and traps heat, which speeds up the dissolving process.
Step 4: Wait 10-15 minutes. Do not peek—unwrapping early releases acetone vapour and slows the process.
Step 5: Unwrap one finger. Using a wooden cuticle pusher, gently push the softened gel from the cuticle toward the free edge. The gel should slide off easily. If it resists, rewrap and wait another 5 minutes. Never scrape or force it.
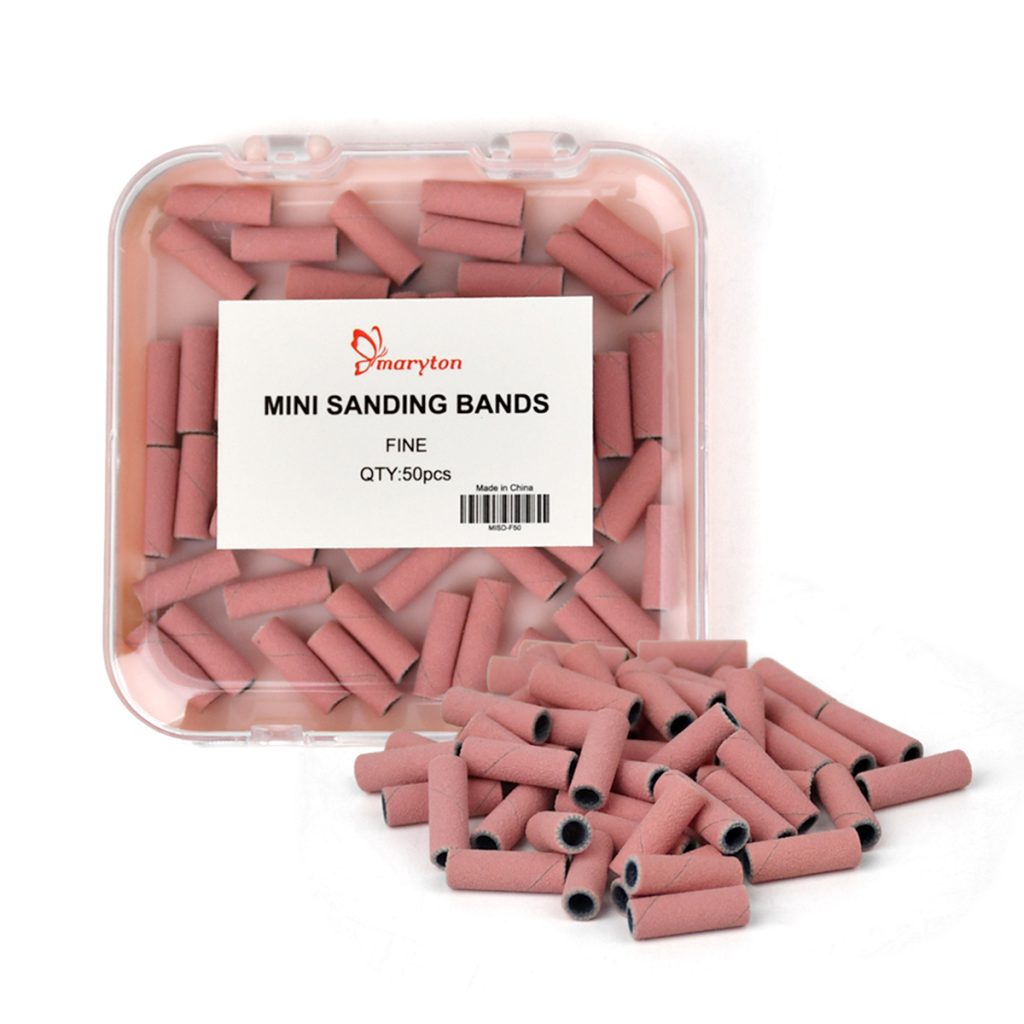
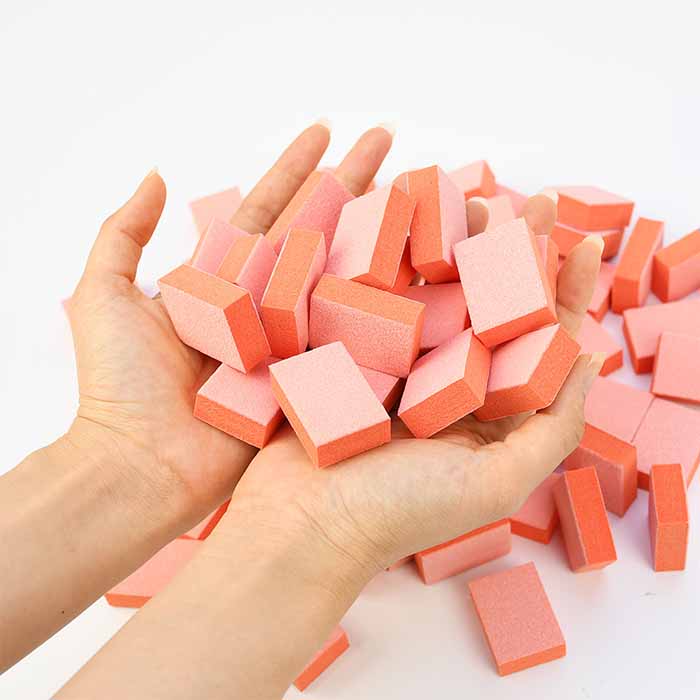
Step 6: Repeat for all nails. If any residue remains, lightly buff it off with a buffer block.
Step 7: Wash your hands thoroughly. Apply cuticle oil generously and follow with a rich hand cream.
Aftercare: Restoring Your Nails After Removal
The removal process—especially acetone—leaves nails dehydrated and vulnerable.
Hydrate immediately. Apply cuticle oil to every nail right after removal. Massage it in and reapply morning and night for at least a week.
Use a rich hand cream. Acetone strips moisture from the skin as well as the nails. Apply a thick cream after every hand wash for the next few days.
Give your nails a break. If you have just removed gel or acrylics, wait 24-48 hours before applying a new set. This allows the nail plate to rehydrate fully.
Keep nails short. Freshly exposed nails are more prone to breaking. Trim them slightly and keep them filed while they recover.
Apply a nail strengthener. If your nails feel thin or bendy, use a keratin- or calcium-based strengthener for a week. This adds temporary support while the natural nail recovers.
Be patient. Nails take 4-6 months to fully replace themselves. Consistent care will restore their strength and health.
Common Mistakes to Avoid
Peeling polish off. This is the number one cause of nail damage. Peeling gel, regular polish, or glitter strips layers off your natural nail plate.
Using metal tools to scrape. Metal pushers can gouge the nail bed. Always use wooden or silicone tools.
Skipping the file step for gel. Acetone cannot penetrate an intact top coat. Always file the shine off first.
Using non-acetone remover on gel. It will not work. You need 100% pure acetone.
Rushing the soak time. Patience is key. If you do not wait long enough, you will be tempted to scrape, which damages the nail.
Forgetting to moisturise. Acetone is extremely drying. Oil is not optional—it is essential.
The Bottom Line
Removing nail polish safely is about patience, the right tools, and consistent aftercare. Whether you are taking off a simple regular polish or a long-wearing gel set, the principles are the same: soften, wait, gently remove, and hydrate thoroughly. Your nails will thank you with strength, flexibility, and a beautiful natural shine.


[…] Read also: The Complete Guide to Nail Polish Removal: Methods, Tools, and Aftercare […]